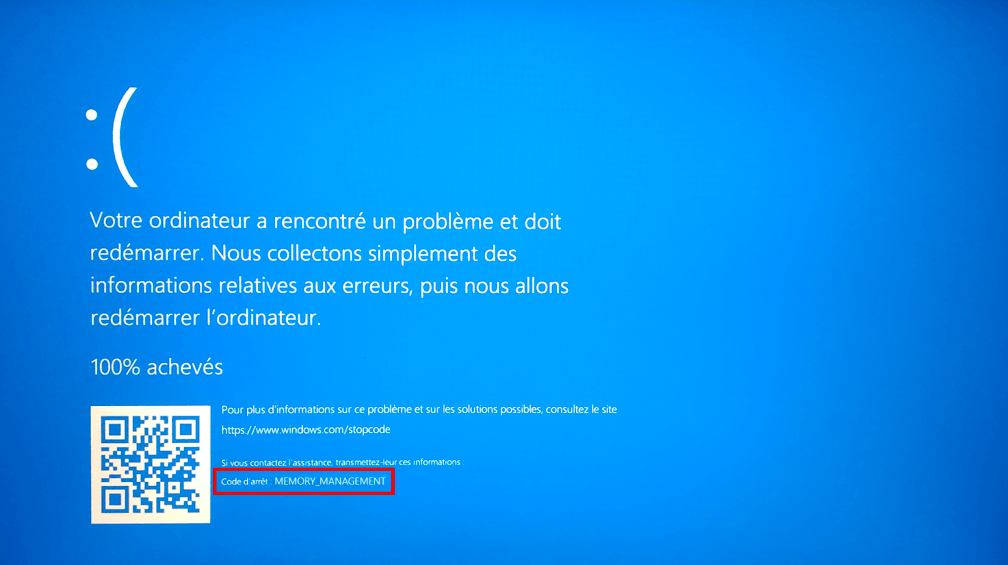
When you update your windows, you might have faced a lot of problems like blue screen of death, files lost after an update, and most importantly the “device not migrated” error. Often your files are lost, or there are other such issues, but today, we will tell your regarding the “device not migrated” issue and how to deal with it effectively.
Where do you see the message of “Device not migrated” issue
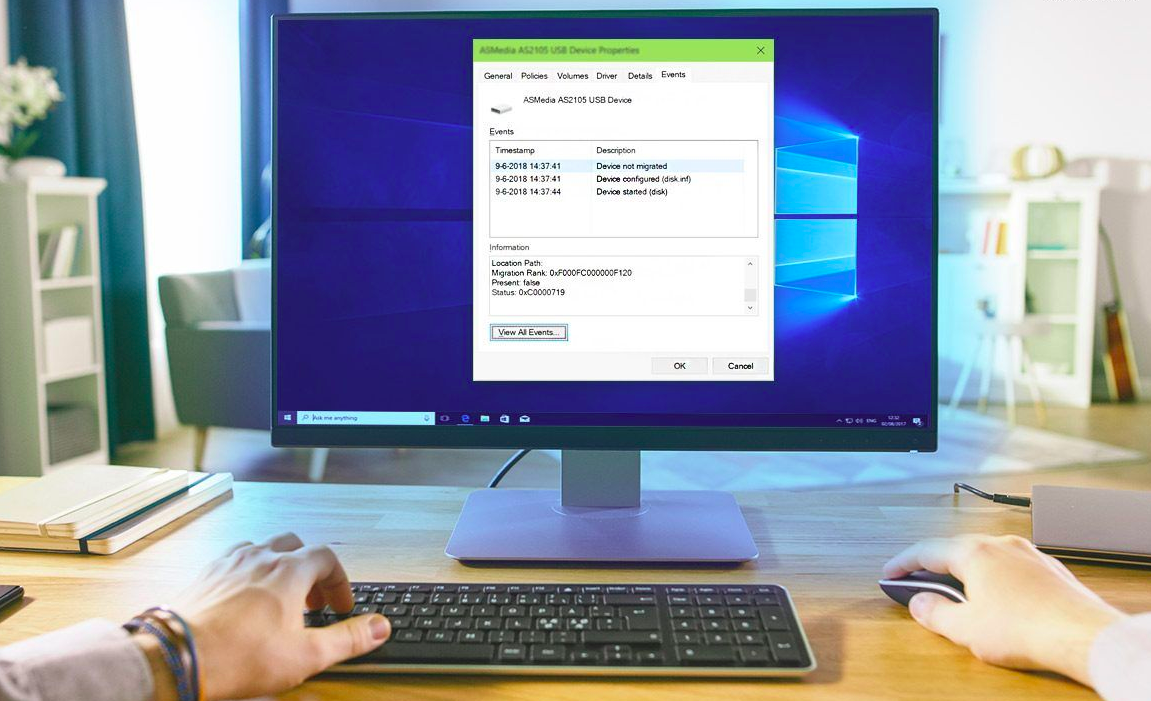
This error is not visible automatically but you have to check it by yourself and get rid of it. To check the error manually, you need to do the following-
- Right click on This PC and from the menu displayed to you, choose Manage.
- Then click Device Manager and a list of drivers will be visible to you.
- Choose the driver that you think is not working, and right click on it and choose Properties.
- Under the Events Tab, you can see the error message.
What does “Device not migrated” mean?
Now, one thing that you need to keep in mind is that each driver present in your computer needs to be migrated if you want it to run on your computer after each update. And if your device is not migrated, the possible solution is that the migration process has gone wrong. There are various ways to fix this issue, but some of them are listed below that can be useful for you to deal with the situation.
How to fix the issue?
1. Fix for device not migrated USB Drive or Hard Drive
Often the cause of the error is that your USB Port is not functioning properly, and for this reason, the windows often the show the message error, “was not migrated due to partial or ambiguous match”.
To deal with the issue, plug in the device into another port that is there on your computer and then check if the message still pops in. Further, you can insert other hard drives or USB Drives to make sure that the default is in your hard drive or the USB port.
The problem may be there in the port and that’s why you are not able to deal with the error. For this, you need to move towards the troubleshooting the device issue.
2. Reinstall the specific device driver
The problem of your device is not migrated may be because the device driver is not compatible with your system. For this, try reinstalling it and to do this, you need to follow the steps given below-
- Right click the Start button on your windows 10 and then choose the Device Manager.
- Find you device driver and then right click on it and click on the Uninstall device.
- Click uninstall
- After that, restart you’re PC and then the effect of this step is that windows automatically reinstall the desired driver.
3. Update your chipset driver
Sometimes, the installation of the non-optimized chipset driver causes the problem. Either you can go the shop owner to get the updated version of chipset driver or you can manually fix the error.
Further, you can even update the chipset driver by going into the device manager option. Right click the driver that you think is not working properly and choose the Update Driver. Windows will then, automatically download the update and will install the updated version automatically.
If the issue is there still there, there you should go for compatibility mode to install the driver. To do this, you need to follow the steps given below-
- Go to the location where the .exe file has been saved and right click the choose properties.
- Under the computability tab, check the box that is next to the option- Run this program in compatibility mode for and choose a different version of windows.
- Click Apply and then OK to save the changes.
4. Check system files
Now, if all the solutions listed above are not proving helpful to you, then try this one. Now, sometimes issue persist because some of the files have broken and for this, you need to check windows files and fix corruption issues for that.
Now, system file checker is one such issue that enables you to scan and restore the corrupted files and get the issue to be cleared. To do this, you need to follow the guide given below-
- Run Command Prompt as administrator.
- Input the sfc /scannowcommand and end with the Enter
- Wait a few minutes until the scan process finishes.
5. Update windows
Sometimes, your window is not updated and for this you need to update your windows and deal with the issue. Updating your window, you need to do the following-
- Go to Start > Settings > Update & Securityto the Windows Update
- Click the Check for updates If there are some available updates, Windows will automatically download and install them during the restart process.
6. Rest BIOS to Factory settings
Now, if the problem is not solved by doing the above steps, you should reset the BIOS to factory settings and get your issue to be resolved. For doing this, the steps that you can take are as follows-
- Restart your PC and press a specific key to enter BIOS.
- Find the option that performs the BIOS settings resetting. The option can be Setup Defaults, Load Default, Load Default Settings, Load Setup Defaults, Load Optimal Defaults, etc.
- Confirm the resetting operation.
Conclusion
So, now your problem regarding the “device not migrated” message issue might be solved after performing one or more steps given above. Even one solution can fix this problem, but if you are not able to deal with the problem with one solution given above, you can choose one or the other solutions to get rid of the problem. Now, you will not face any such message on your windows while working for a longer period of time.
