
A Virtual Private Server (VPS) is a powerful tool for businesses and individuals who need reliable, scalable, and customizable hosting solutions. However, to get the most out of your Windows VPS Hosting, it’s crucial to optimize its performance. This guide will walk you through some essential tips and tricks to enhance the efficiency and speed of your Windows VPS, ensuring it operates at its best.
1. Choose the Right VPS Plan
The foundation of a high-performing VPS starts with selecting the appropriate plan that matches your needs. Consider the following factors when choosing a Windows VPS plan:
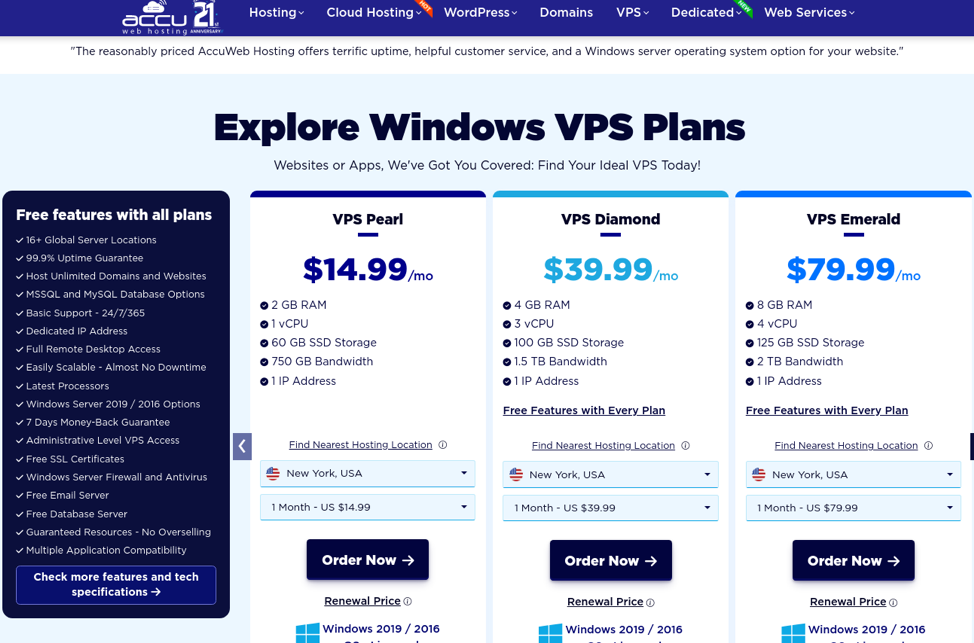
– CPU and RAM:
Ensure the VPS plan offers sufficient CPU cores and RAM to handle your applications and expected traffic.
– Disk Space:
Opt for SSD storage over HDD for faster data access and better performance.
– Bandwidth:
Adequate bandwidth is essential for smooth data transfer and preventing bottlenecks.
– Scalability:
Choose a plan that allows easy upgrades as your needs grow.
Selecting the right plan ensures your VPS has the necessary resources to perform optimally.
2. Keep Your Operating System Updated
Regular updates to your Windows operating system are crucial for performance and security. Microsoft frequently releases updates to fix bugs, close security vulnerabilities, and enhance system performance. To ensure your VPS is always up-to-date:
– Turn on automatic updates or make it a habit to check for updates manually regularly.
– Schedule updates during off-peak hours to minimize downtime and disruption.
Staying current with updates helps maintain the stability and efficiency of your VPS.
3. Optimize Startup Programs
Startup programs can significantly affect the boot time and overall performance of your VPS. Many applications configure themselves to start automatically when the server boots, consuming valuable resources. To manage startup programs:
– Open the Task Manager (Ctrl + Shift + Esc) and navigate to the Startup tab.
– Disable unnecessary startup programs to reduce the load on your system during boot.
By optimizing startup programs, you can speed up the boot process and free up resources for more critical tasks.
4. Regularly Clean Up Disk Space
Over time, your VPS can accumulate unnecessary files, such as temporary files, system caches, and old logs. Regularly clearing disk space can boost performance and prevent system slowdowns. Here’s how:
– Utilize the integrated Disk Cleanup tool to delete temporary files and system caches.
– Regularly delete old log files and unused applications.
– Consider using third-party tools like CCleaner for more thorough cleaning.
Keeping your disk clean and organized helps your VPS run more efficiently and prevents performance issues related to disk space.
5. Optimize Virtual Memory (Paging File)
Virtual memory, or the paging file, acts as an extension of your physical RAM. Optimizing the paging file can improve performance, especially if your VPS has limited RAM. To configure virtual memory settings:
– Go to System Properties (right-click on This PC > Properties).
– Go to Advanced system settings and access the Performance section.
– Click on Settings, then go to the Advanced tab.
– Under Virtual memory, click Change, and set the paging file size to a custom size based on your needs (1.5 to 2 times the size of your physical RAM is a good rule of thumb).
Properly configuring virtual memory ensures your VPS can handle additional load efficiently without significant performance degradation.
6. Disable Unnecessary Services
Windows services running in the background can consume valuable system resources. Turning off unnecessary services can release resources and enhance performance. To manage services:
– Open the Services application (type services. msc in the Run dialog).
– Identify and disable services that are not required for your applications or server operations.
Be cautious when disabling services; only disable those you are sure are not needed to avoid causing system instability.
7. Utilize Performance Monitoring Tools
Monitoring your VPS performance can help identify bottlenecks and areas for improvement. Windows provides several built-in tools for performance monitoring:
– Task Manager:
Provides a quick overview of CPU, memory, disk, and network usage.
– Performance Monitor:
Offers detailed performance data and the ability to create custom monitoring sets.
– Resource Monitor:
Gives insights into resource usage by individual processes and services.
Regularly monitoring your VPS performance allows you to detect and address issues promptly, ensuring optimal performance.
8. Implement Security Best Practices
Security is critical for maintaining the performance and integrity of your VPS. Implementing security best practices can prevent malicious activities that degrade performance. Consider the following:
– Consistently update and patch both your operating system and applications.
– Use strong passwords and enable multi-factor authentication (MFA) for all accounts.
– Install and configure a reputable antivirus and firewall solution.
– Regularly back up your data to prevent data loss and ensure quick recovery in case of an incident.
A secure VPS is less likely to experience performance issues related to malware or unauthorized access.
9. Optimize Network Settings
Network performance is crucial for a VPS, especially if it’s hosting web applications or services. Improving network settings can boost data transfer rates and decrease latency. Here are some tips:
– Ensure your VPS is hosted in a data center close to your primary user base to reduce latency.
– Optimize TCP/IP settings for better throughput (e.g., adjusting TCP window size).
– Use a content delivery network (CDN) to distribute load and improve access speeds for users in different regions.
10. Regularly Reboot Your VPS
Regular reboots can help clear temporary issues, refresh system resources, and apply necessary updates. Schedule reboots during maintenance windows to minimize the disruption:
– Use Task Scheduler to automate regular reboots at convenient times.
– Inform users in advance of scheduled maintenance to manage expectations.
Conclusion
Optimizing the performance of your Windows VPS involves a combination of selecting the right plan, regular maintenance, and implementing best practices. By following the tips and tricks outlined in this guide, you can ensure your VPS operates at peak performance, providing a reliable and efficient hosting solution for your applications and services.